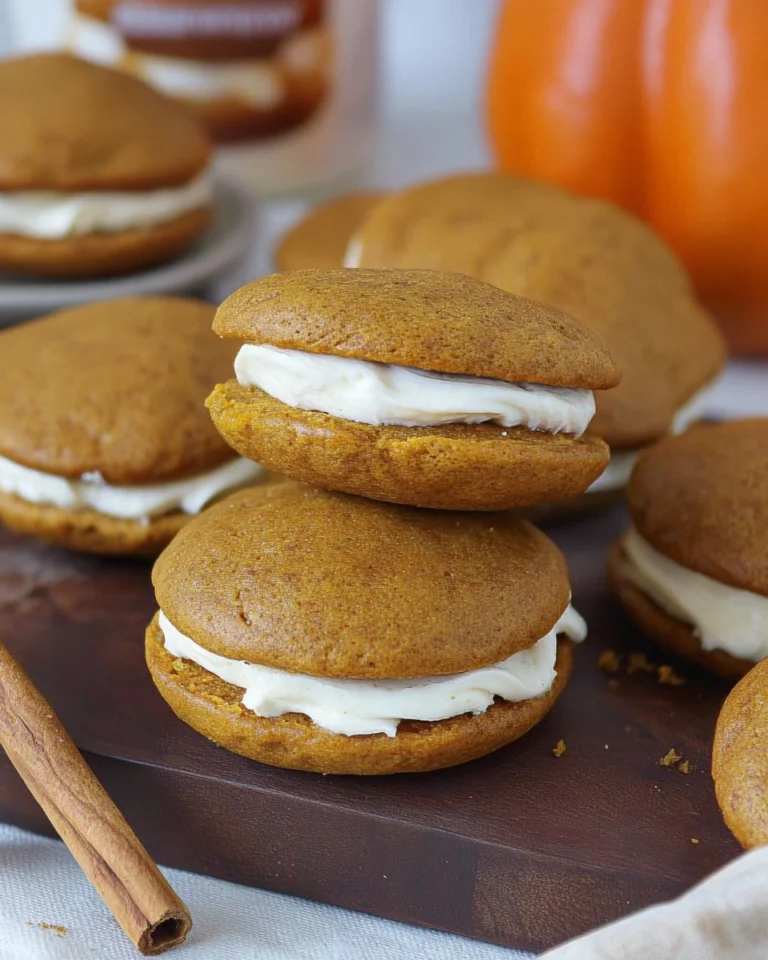
Chocolate Ice Cream

Homemade Chocolate Ice Cream is truly a delightful treat that combines the rich, creamy goodness of chocolate with a smooth, velvety texture that feels indulgent yet surprisingly easy to whip up in your own kitchen. Each spoonful encapsulates a burst of chocolate bliss, perfect for satisfying sweet cravings any time of year. After countless store-bought options that fell short in flavor and texture, I was determined to create my perfect chocolate ice cream from scratch — the kind you’ll want to keep stocked in your freezer for those “just because” moments.
Table of Contents
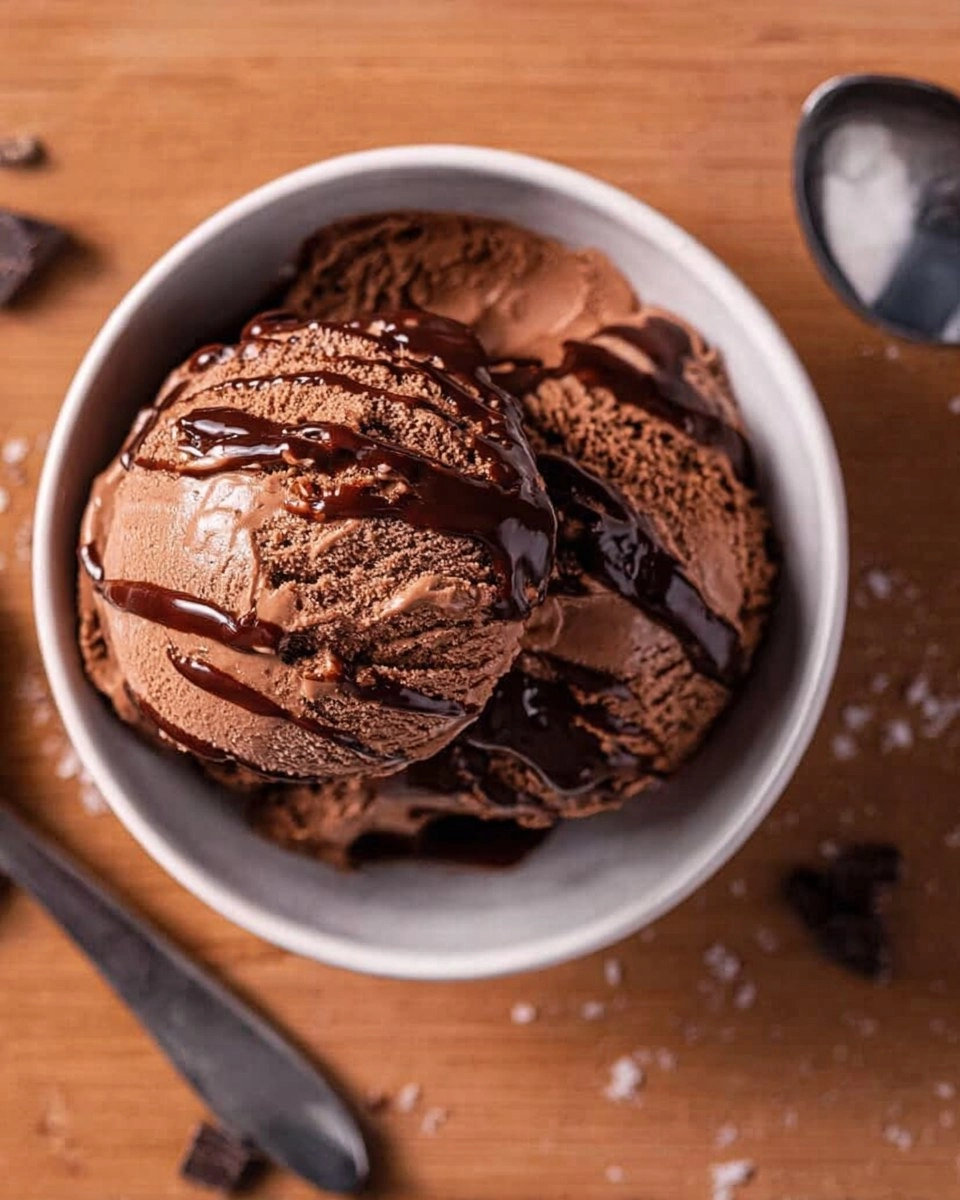
This recipe stands out not just for its flavor but also for the positive memories it brings. The process is almost meditative, from heating the dairy to swirling in the hot fudge. You may even find yourself transported back to childhood summers spent chasing ice cream trucks. Trust me when I say that making your own chocolate ice cream is a rewarding journey. Plus, with minimal effort, you can impress family and friends with this homemade marvel! I can’t wait for you to try it.
Why You’ll Love This Recipe
- Simple & Quick: This chocolate ice cream comes together with minimal fuss and only about 30 minutes of active time from start to finish, plus chilling.
- Irresistible Flavor: Rich dark chocolate and smooth, creamy vanilla come together for a decadent dessert experience that will have you coming back for more.
- Eye-Catching Appeal: The deep, luscious color and swirls of fudge make this dessert as beautiful as it is delicious — perfect for serving at any gathering.
- Flexible Serving: Enjoy this ice cream on its own, in homemade waffle cones, or served atop your favorite dessert for an indulgent experience.
- Diet-Friendly Options: Customize this recipe by using dairy alternatives like coconut milk or almond milk for a delicious vegan version.
Ingredients You’ll Need
- 1½ cups heavy cream: Provides a rich base for that creamy texture; don’t skimp on quality.
- 1½ cups whole milk: Balances the richness of the cream and gives a smooth mouthfeel; alternatives like almond or oat milk can work too.
- ½ cup granulated sugar: Sweetens the ice cream without overpowering the chocolate flavor; ensure it’s fully dissolved.
- 3 tablespoons cocoa powder: Adds a deep chocolate flavor; use unsweetened cocoa for the best results.
- 2 tablespoons light corn syrup: Enhances the texture and prevents crystallization; you can substitute with maple syrup if desired.
- 1/4 teaspoon fine sea salt: A touch of salt enhances the chocolate flavor beautifully.
- 4 large egg yolks: Creates a creamy custard base; use fresh eggs for best results.
- 1 tablespoon vanilla extract: Enhances the depth of flavor; pure vanilla is recommended for the best taste.
- 4 oz dark chocolate, chopped: The star ingredient that makes this ice cream irresistibly chocolatey; choose your favorite high-quality chocolate or chips.
- ½ cup hot fudge sauce, optional: For added indulgence and chocolatey goodness; use store-bought or homemade.
How to Make Chocolate Ice Cream Recipe
- Heat Dairy: In a medium saucepan, combine the 1½ cups heavy cream, 1½ cups whole milk, ½ cup granulated sugar, 3 tablespoons cocoa powder, 2 tablespoons light corn syrup, and 1/4 teaspoon fine sea salt. Heat over medium, stirring occasionally, until steaming but not boiling.
- Whisk Yolks: In a separate bowl, beat the 4 large egg yolks until smooth and slightly frothy.
- Melt Chocolate: In another small bowl, add the 4 oz chopped dark chocolate. Pour one large ladleful of the hot milk mixture over the chocolate and set aside to melt.
- Temper Eggs: Slowly drizzle a ladleful of the hot milk mixture into the yolks while whisking constantly. Repeat with several more spoonfuls of the hot cream. This gentle approach warms the eggs without scrambling them. Pour the tempered yolk mixture back into the saucepan and cook for about 30 more seconds, until the mixture thickens slightly and reaches about 170-175°F.
- Combine: Stir in the melted chocolate and 1 tablespoon vanilla extract. Strain the mixture through a fine-mesh sieve into a clean container to ensure a silky texture, removing any cooked egg bits.
- Chill: Refrigerate the mixture for at least 4 hours, or ideally overnight, to allow the flavors to meld and the mixture to fully cool.
- Churn: Pour the chilled custard into your ice cream maker and churn according to the manufacturer’s instructions until it reaches a soft-serve consistency.
- Fudge Swirl and Freeze: Transfer half of the mixture into an air-tight ice cream container. Spoon 3 tablespoons of warmed fudge sauce over the top and gently swirl it into the ice cream with a knife. Top with the remaining ice cream and drizzle another layer of fudge on top. Freeze for at least 4 hours, or until firm and scoopable.
- Serve: For the ultimate experience, enjoy your chocolate ice cream in a homemade waffle cone!
Storing & Reheating
After your homemade chocolate ice cream is frozen and ready to serve, store it in an airtight container in the freezer for up to 3 months. If you’re planning to take it out for a scoop, let it sit at room temperature for 5-10 minutes to soften slightly before serving. This will help revive that creamy texture, as ice cream can become hard when frozen too long. Avoid leaving it out on the counter for extended periods, as this may affect both flavor and texture.
Chef’s Helpful Tips
- Don’t Skip the Straining: Straining the mixture ensures that your final product is smooth and free of any lumps.
- Use Fresh Ingredients: The freshness of your heavy cream, milk, and eggs can significantly impact the overall taste of your ice cream.
- Perfect Tempering: Make sure to drip the hot mixture slowly into the yolks to avoid scrambling; whisk like your life depends on it!
- Customize Your Chocolate: Feel free to adjust the dark chocolate used based on your sweetness preference—dark, semi-sweet, or even milk chocolate will each bring a different flavor profile.
- Add Mix-ins: While delectable on its own, consider adding chopped nuts, chocolate chips, or even toasted marshmallows during the churn for added texture.
- Make Ahead: This chocolate ice cream is perfect for prep ahead of gatherings. Just keep it stored well for optimal freshness!
What’s better than a bowl of rich, creamy chocolate ice cream made right in your own kitchen? This homemade treat shines in its simplicity while delivering flavor that the store-bought varieties can’t quite match. Have fun with the recipe, and don’t be afraid to experiment with other flavors or mix-ins; the possibilities are endless! I hope you savor every bite and find joy in making it from scratch.
Recipe FAQs
Can I use a different type of chocolate?
Absolutely! While dark chocolate provides a deep flavor, feel free to experiment with semi-sweet or even milk chocolate for a sweeter taste. Just keep in mind that varying chocolate types may alter the overall sweetness and richness of the ice cream.
Can I make this recipe without an ice cream maker?
It is possible! Simply pour the custard into a shallow dish and place it in the freezer. Stir every 30 minutes for the first few hours or until it reaches the desired consistency. It will take a bit longer to freeze, but you’ll still end up with delicious chocolate ice cream.
How can I prevent ice crystals in my ice cream?
To prevent ice crystals, ensure your mixture is well-chilled before churning and use light corn syrup as it helps keep the texture smooth. Also, avoid leaving your ice cream out at room temperature for too long when serving.
How should I store leftovers?
Store any leftover chocolate ice cream in an airtight container in the freezer for up to 3 months. Ensure the lid is tightly closed to limit exposure to air, which can lead to freezer burn. When ready to enjoy, let it soften before scooping for easier servings.
PrintMore Desserts & Appetizers Recipes
- Baileys Chocolate Truffles (No-Bake Irish Cream Treats)
- Guinness Chocolate Cake | Rich Moist Chocolate Cake
- Banana Oatmeal Cookies
- Nutter Butter Referees
- Decadent Cottage Cheese Date Brownies
Did You Enjoy Making This Recipe? Please rate this recipe with ⭐⭐⭐⭐⭐ or leave a comment.
📖 Recipe Card
Chocolate Ice Cream
- Prep Time: 30 minutes
- Cook Time: 30 minutes
- Total Time: 1 hour
- Yield: 12 servings 1x
- Category: Desserts
- Method: Churning
- Cuisine: American
Description
This Chocolate Ice Cream is rich and creamy, made with heavy cream, whole milk, and dark chocolate. It’s a simple yet indulgent treat for chocolate lovers, ideal for summer days and family gatherings.
Ingredients
- 1½ cups heavy cream
- 1½ cups whole milk
- ½ cup granulated sugar
- 3 tablespoons cocoa powder
- 2 tablespoons light corn syrup
- 1/4 teaspoon fine sea salt
- 4 large egg yolks
- 1 tablespoon vanilla extract
- 4 oz dark chocolate, chopped
- ½ cup hot fudge sauce
Instructions
- Combine cream, milk, sugar, cocoa powder, corn syrup, and salt in a saucepan. Heat until steaming, but not boiling.
- Beat egg yolks in a separate bowl until smooth.
- In another bowl, place chopped chocolate and pour a ladleful of hot milk over it to melt.
- Drizzle hot milk into the egg yolks while whisking, to temper the eggs. Repeat with more hot cream, then pour the mixture back into the saucepan. Cook until slightly thickened without boiling.
- Stir in melted chocolate and vanilla, then strain the mixture into a container.
- Chill the mixture in the refrigerator for at least 4 hours or overnight.
- Churn the cooled mixture in an ice cream maker according to the instructions.
- Transfer half the ice cream to a container, add fudge sauce, and swirl it in, then top with remaining ice cream and more fudge. Freeze until firm, at least 4 hours.
- Serve in waffle cones if desired.
Notes
The corn syrup is optional but helps create a smoother texture in the ice cream.
For a richer chocolate flavor, use high-quality dark chocolate.
This ice cream is best served fresh, but it can be stored in the freezer for up to 2 weeks.
Nutrition
- Serving Size: 1/2 cup
- Calories: 250
- Sugar: 20g
- Sodium: 50mg
- Fat: 14g
- Saturated Fat: 8g
- Unsaturated Fat: 6g
- Trans Fat: 0g
- Carbohydrates: 28g
- Fiber: 1g
- Protein: 3g
- Cholesterol: 80mg